
 521
521
This article assumes the CallHarborUC Desktop App is already installed.
You can find information on installing and utilizing the Desktop App here
Enabling Troubleshooting On CallHarborUC Desktop App
Enabling Troubleshooting On CallHarborUC Desktop App
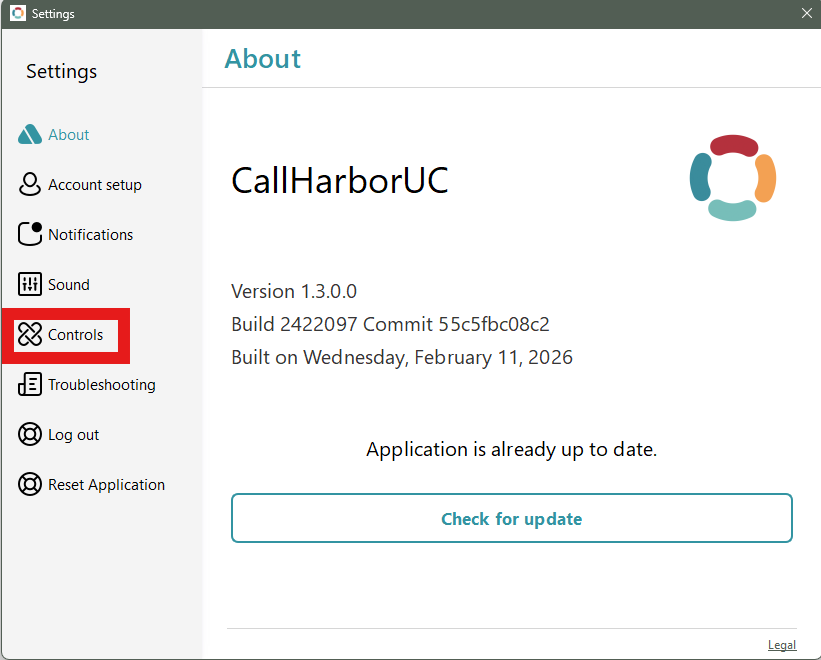
Select the gear icon in the bottom left above your user icon

Navigate to the Controls
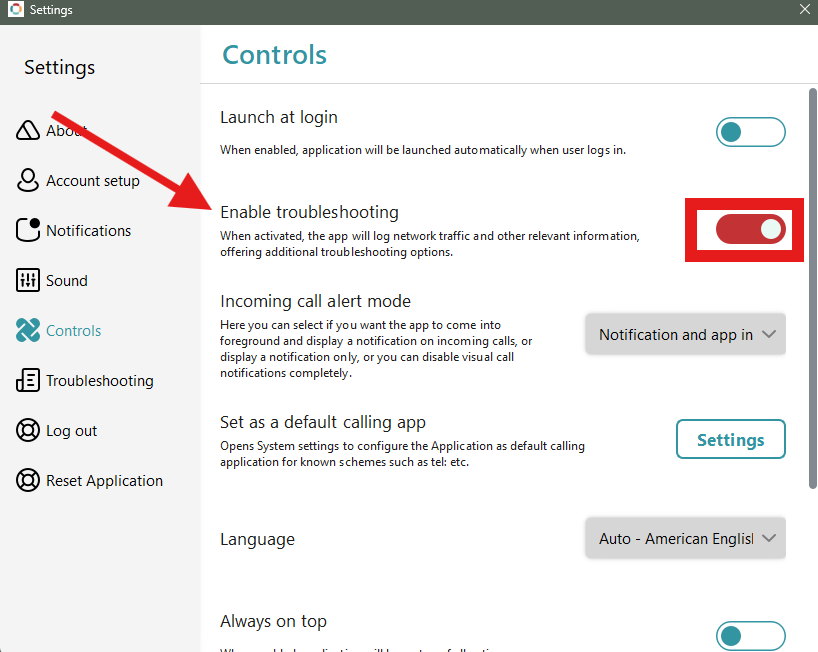
Select the option to Enable troubleshooting (the slider should turn red as shown below)
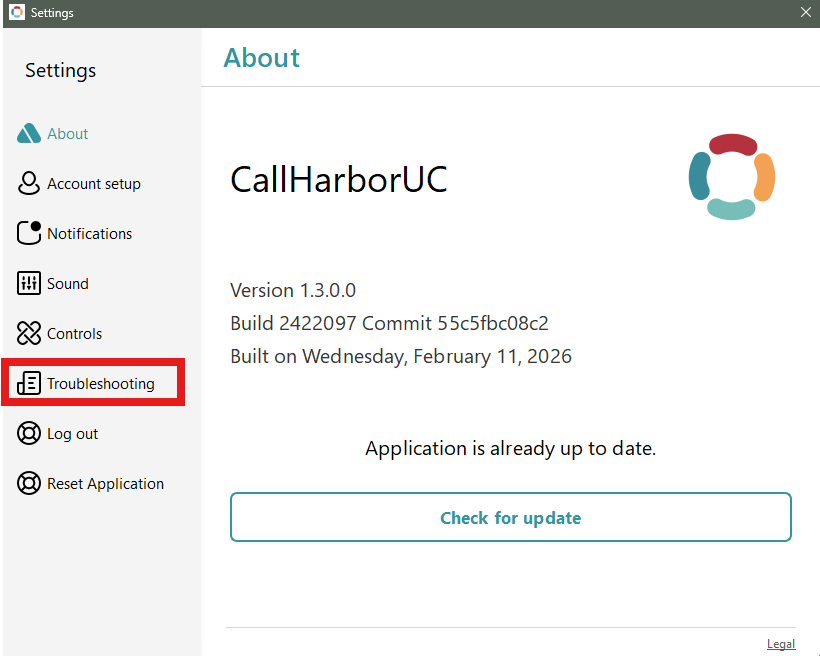
Select the gear icon in the bottom left above your user icon
Navigate to the Troubleshooting section

Scroll down until you see "Enable/Disable diagnostic data"
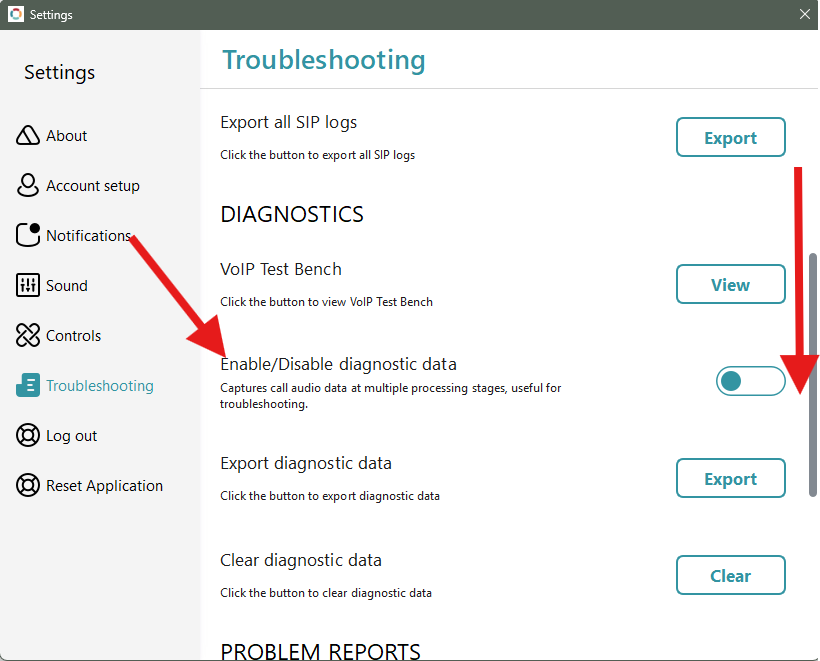
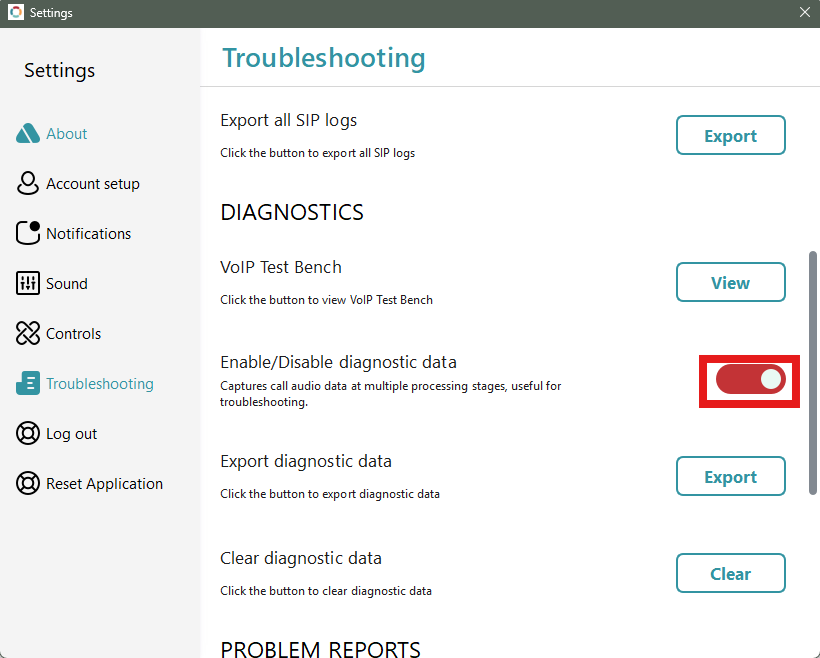
Select the option to Enable troubleshooting (the slider should turn red as shown below)
Select the gear icon in the bottom left above your user icon
Navigate to the Troubleshooting section

Select "Export" next to "Export all SIP logs"
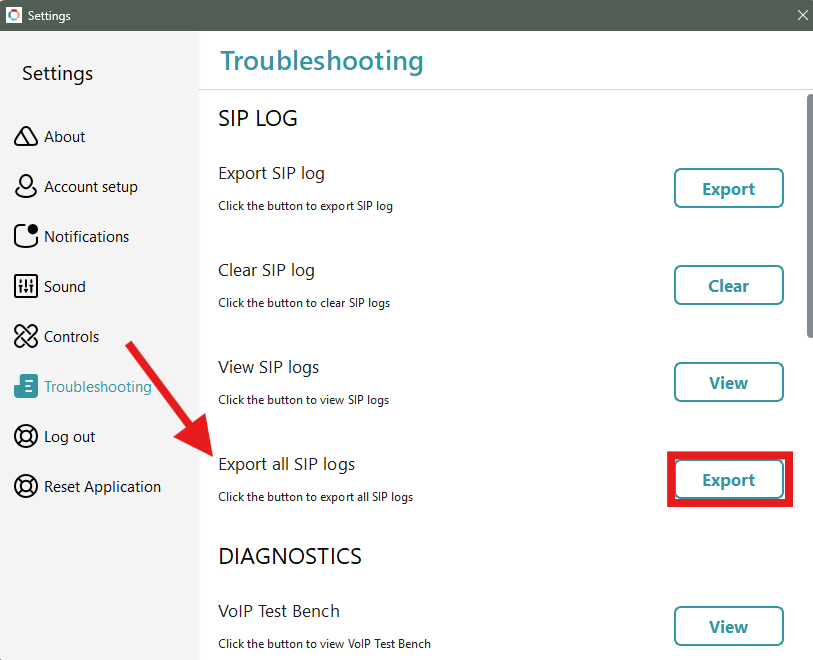
Select the "Save" button

Once you have the SIP logs downloaded you can send them to the technician requesting the logs.
Select the gear icon in the bottom left above your user icon
Navigate to the Troubleshooting section
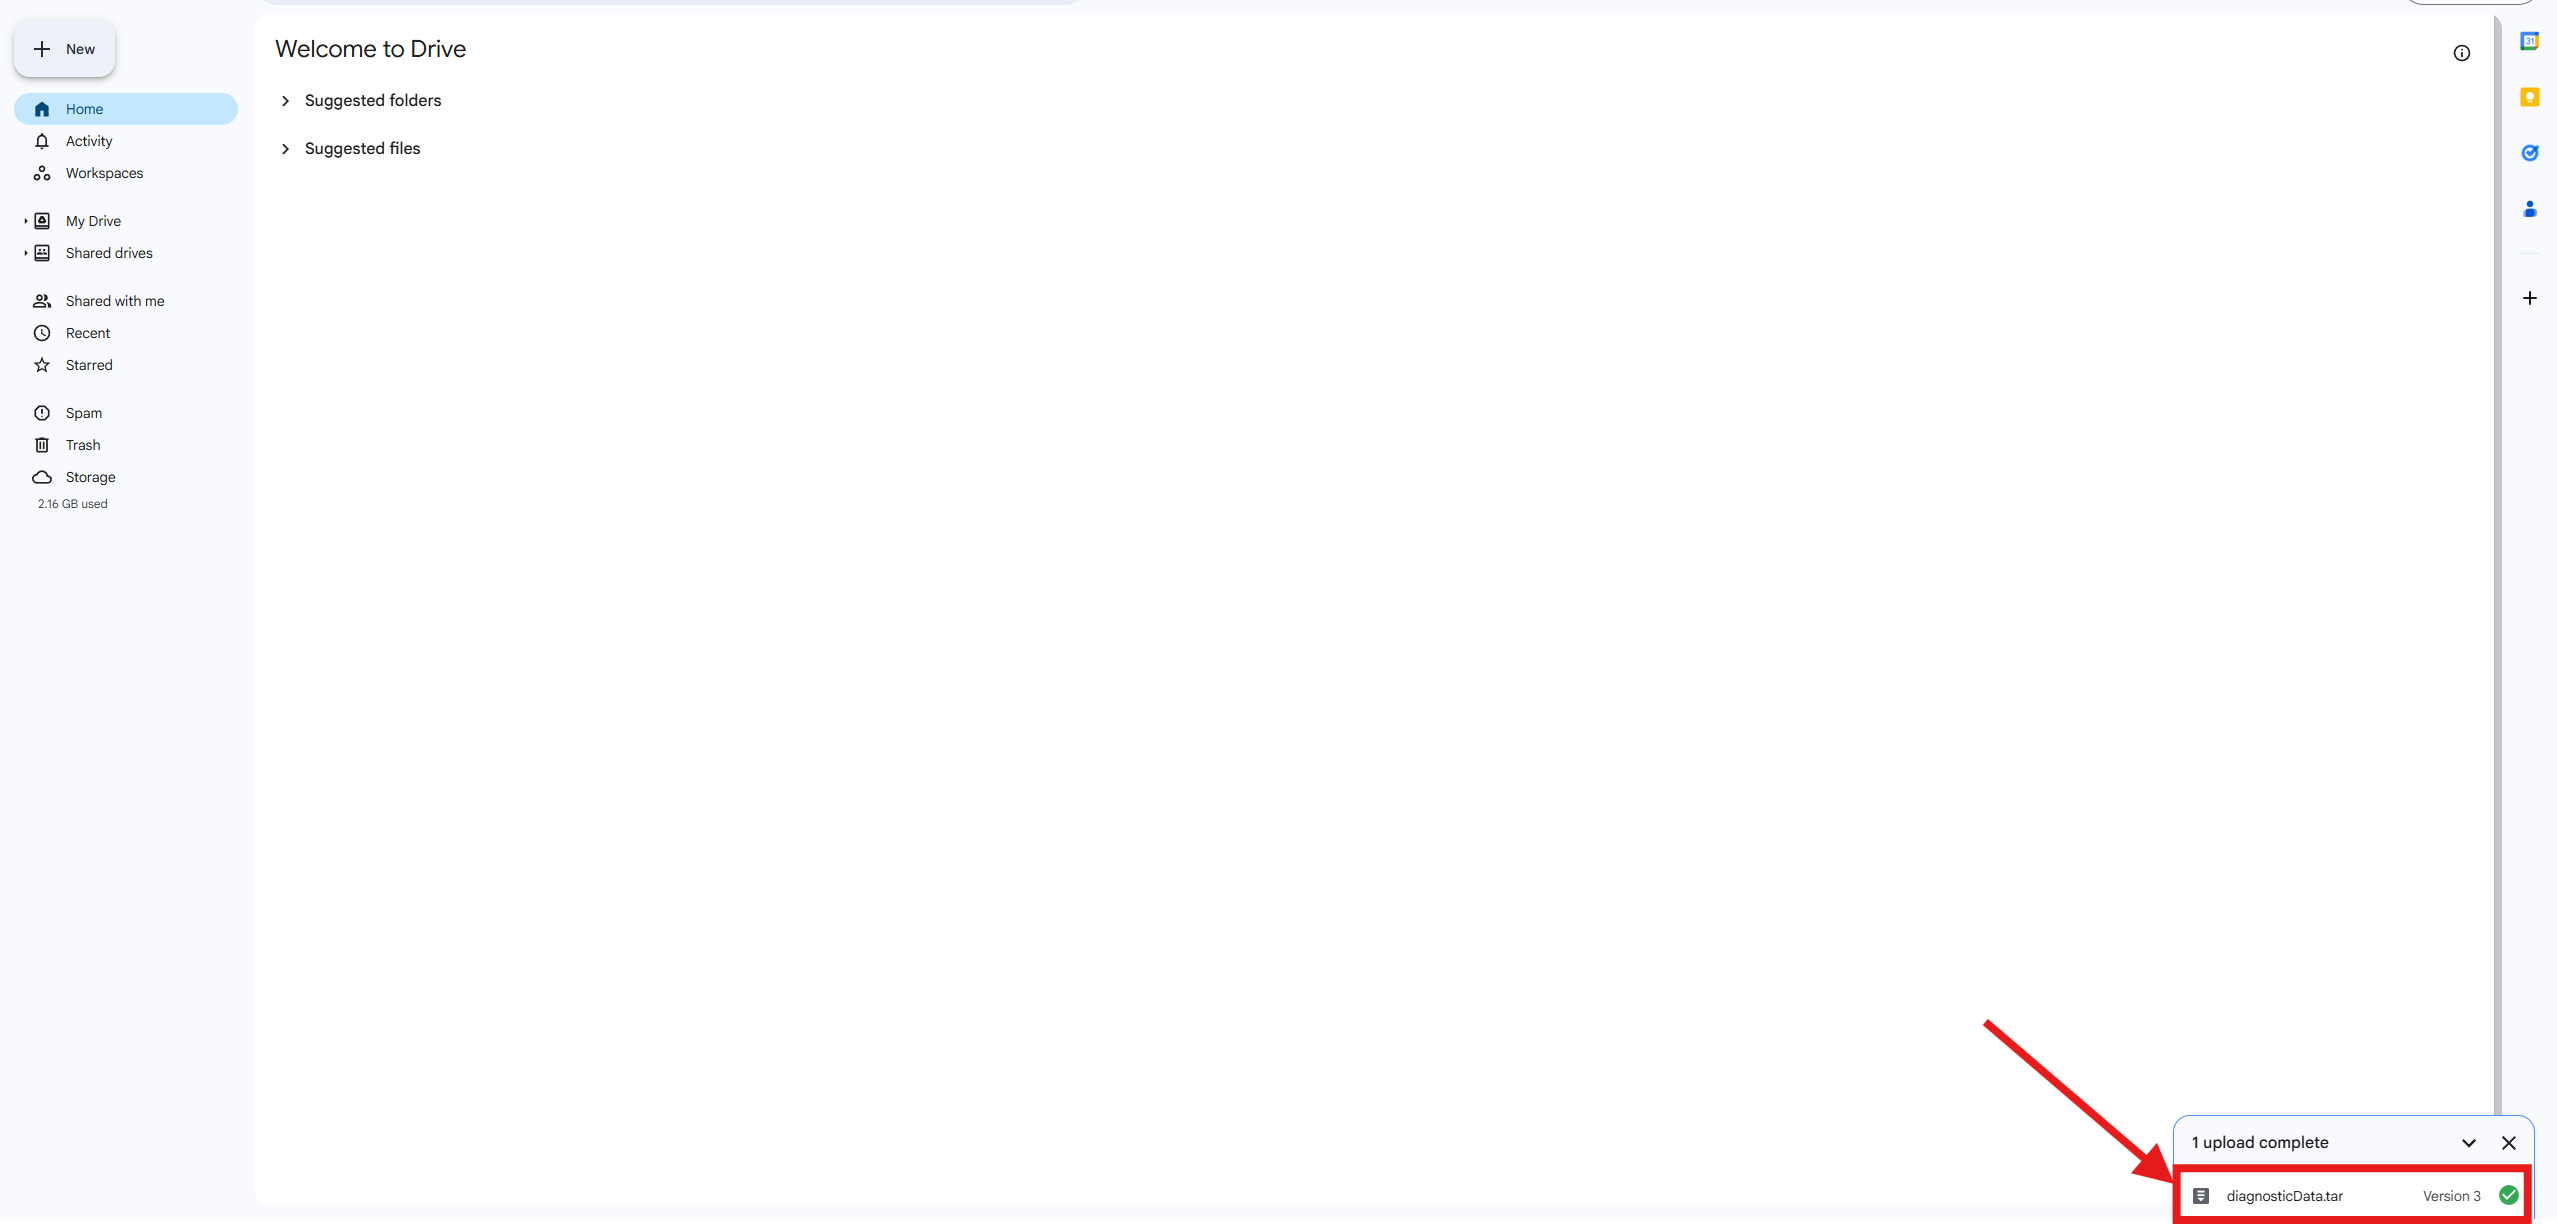
Scroll down until you see "Export diagnostic data"
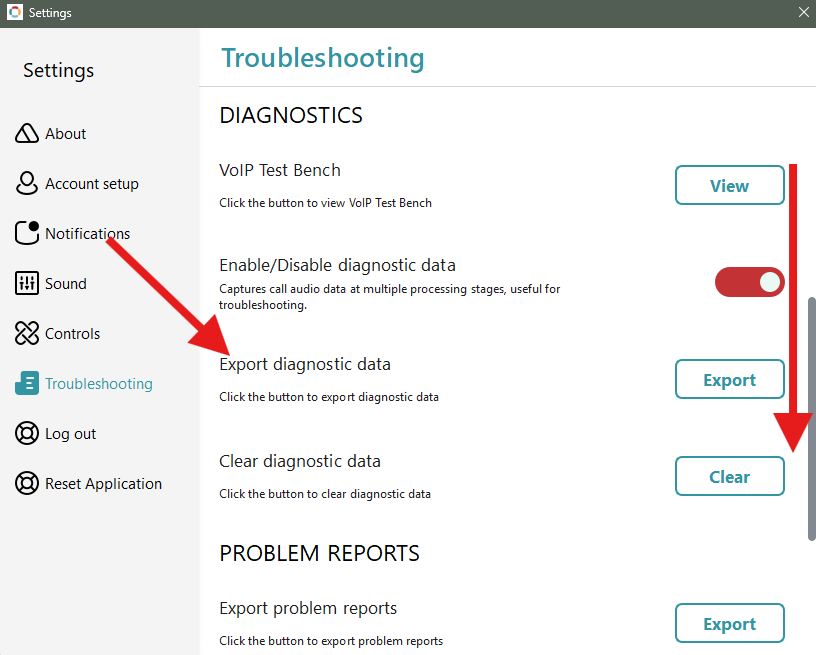
Select "Export" next to "Export diagnostic data" (please note your Desktop App may freeze for a minute or so this is normal)
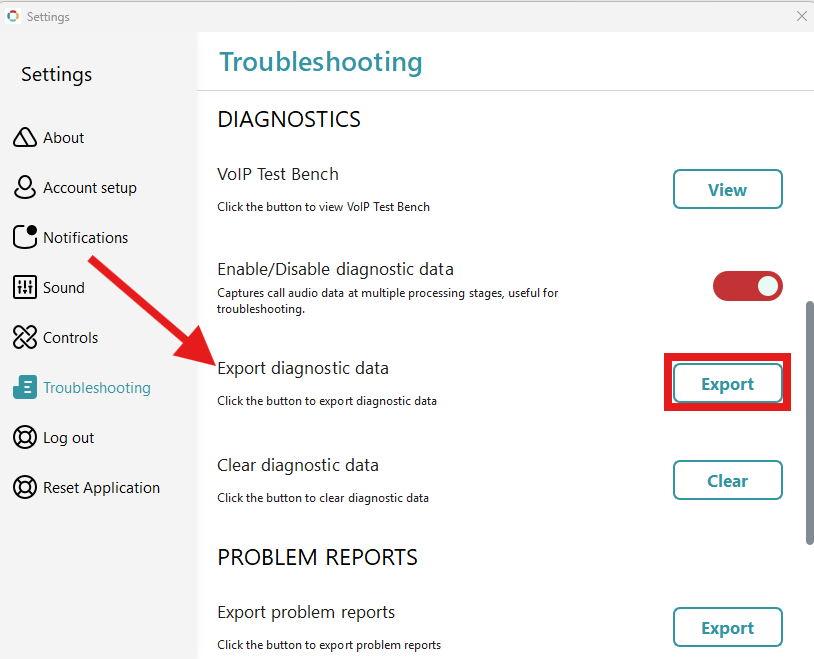
Select the "Save" button
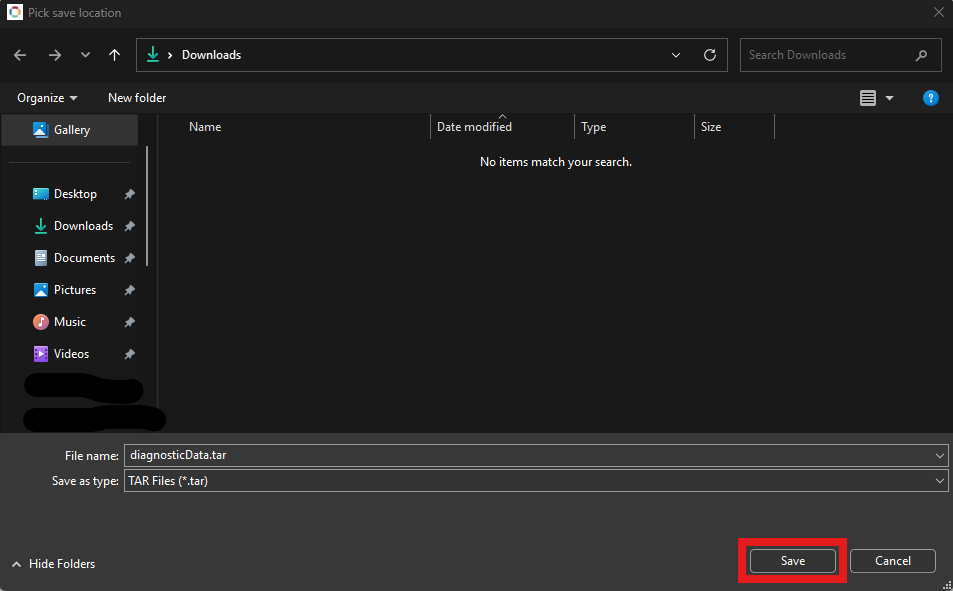
The diagnostic data files are too large to be sent naturally so we will be uploading them to Google Drive. Which can be accessed here (please note you may need to sign in).
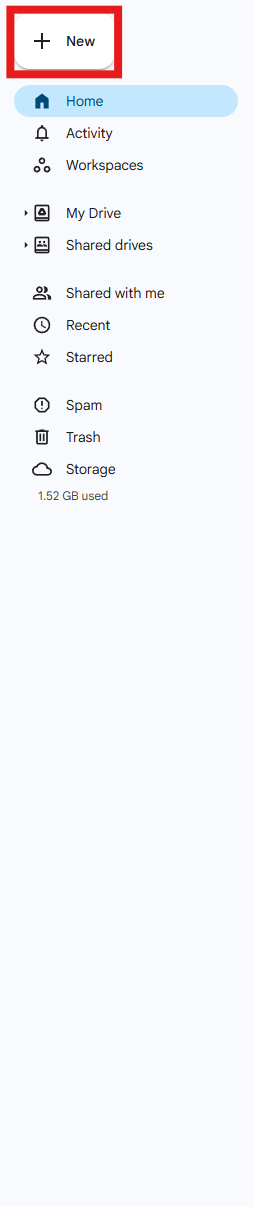
Now in Google Drive start by selecting "New" in the top left corner
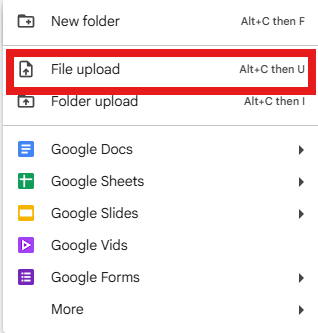
Select "File Upload"
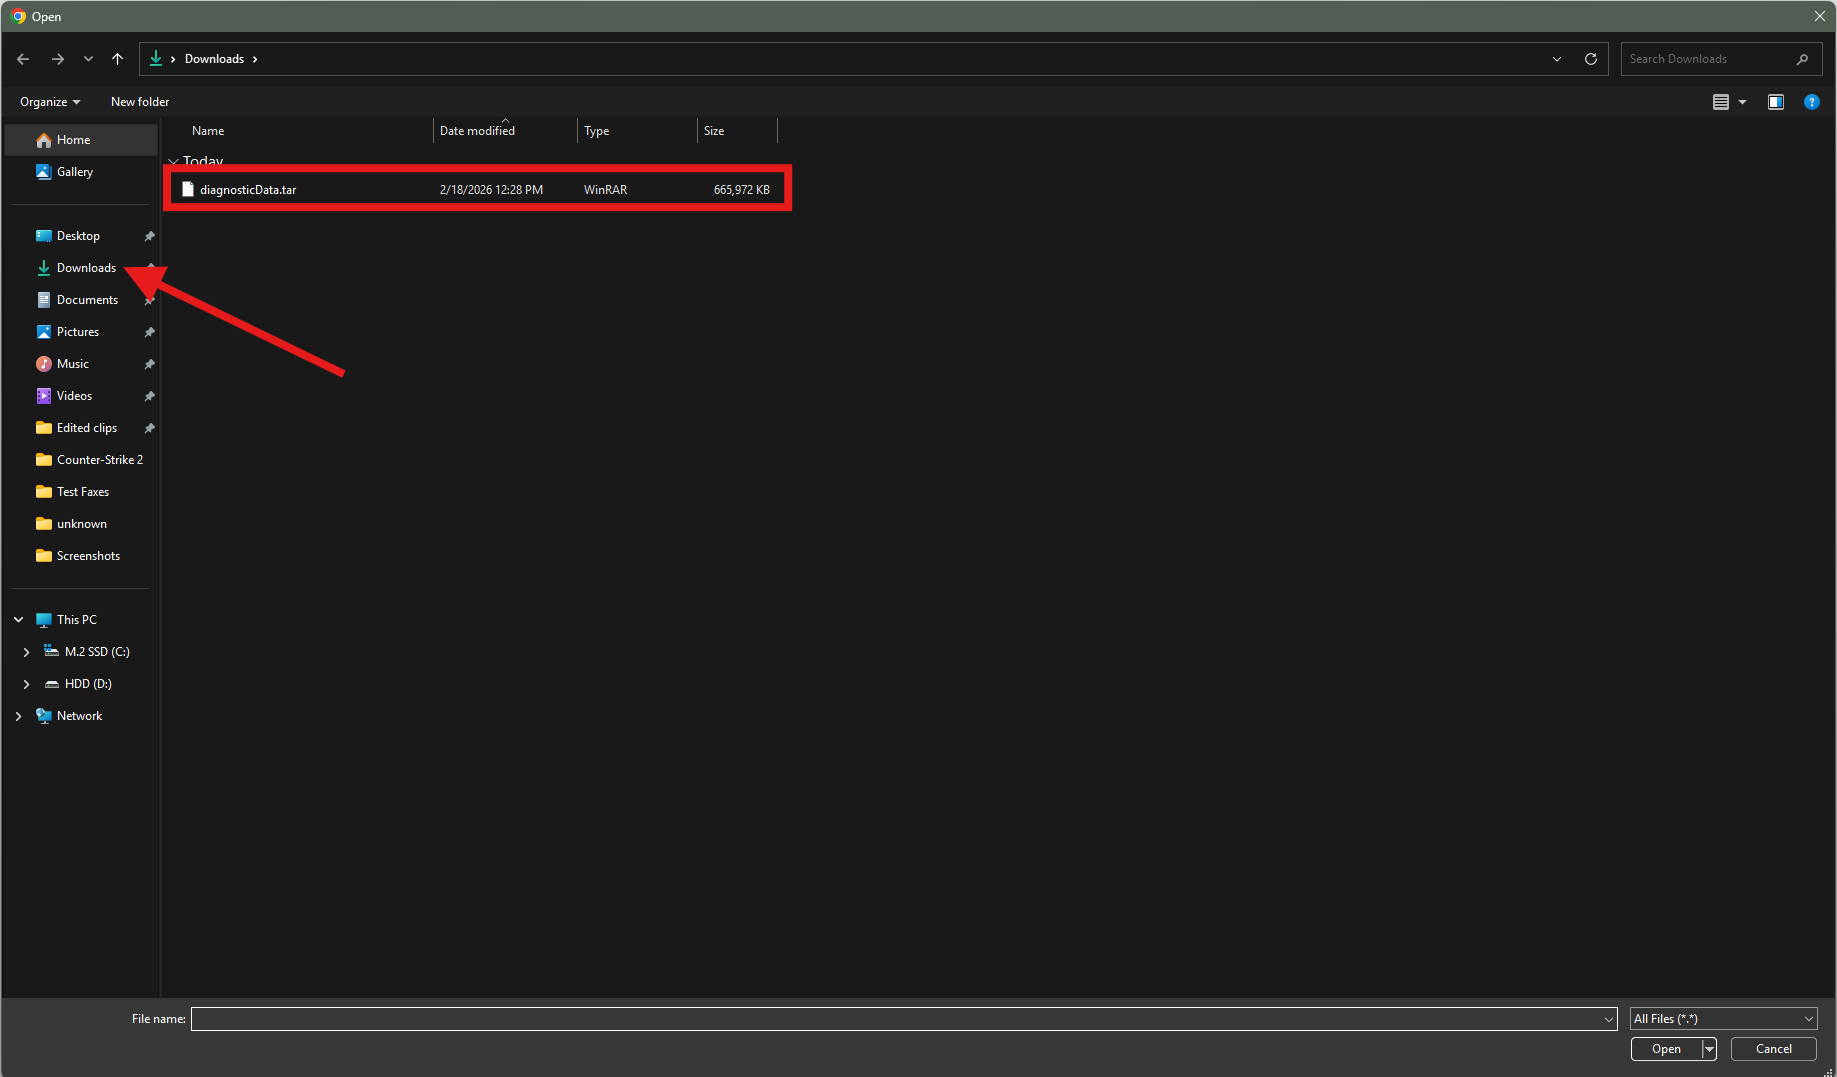
Navigate to "Downloads" and double click "diagnosticData"
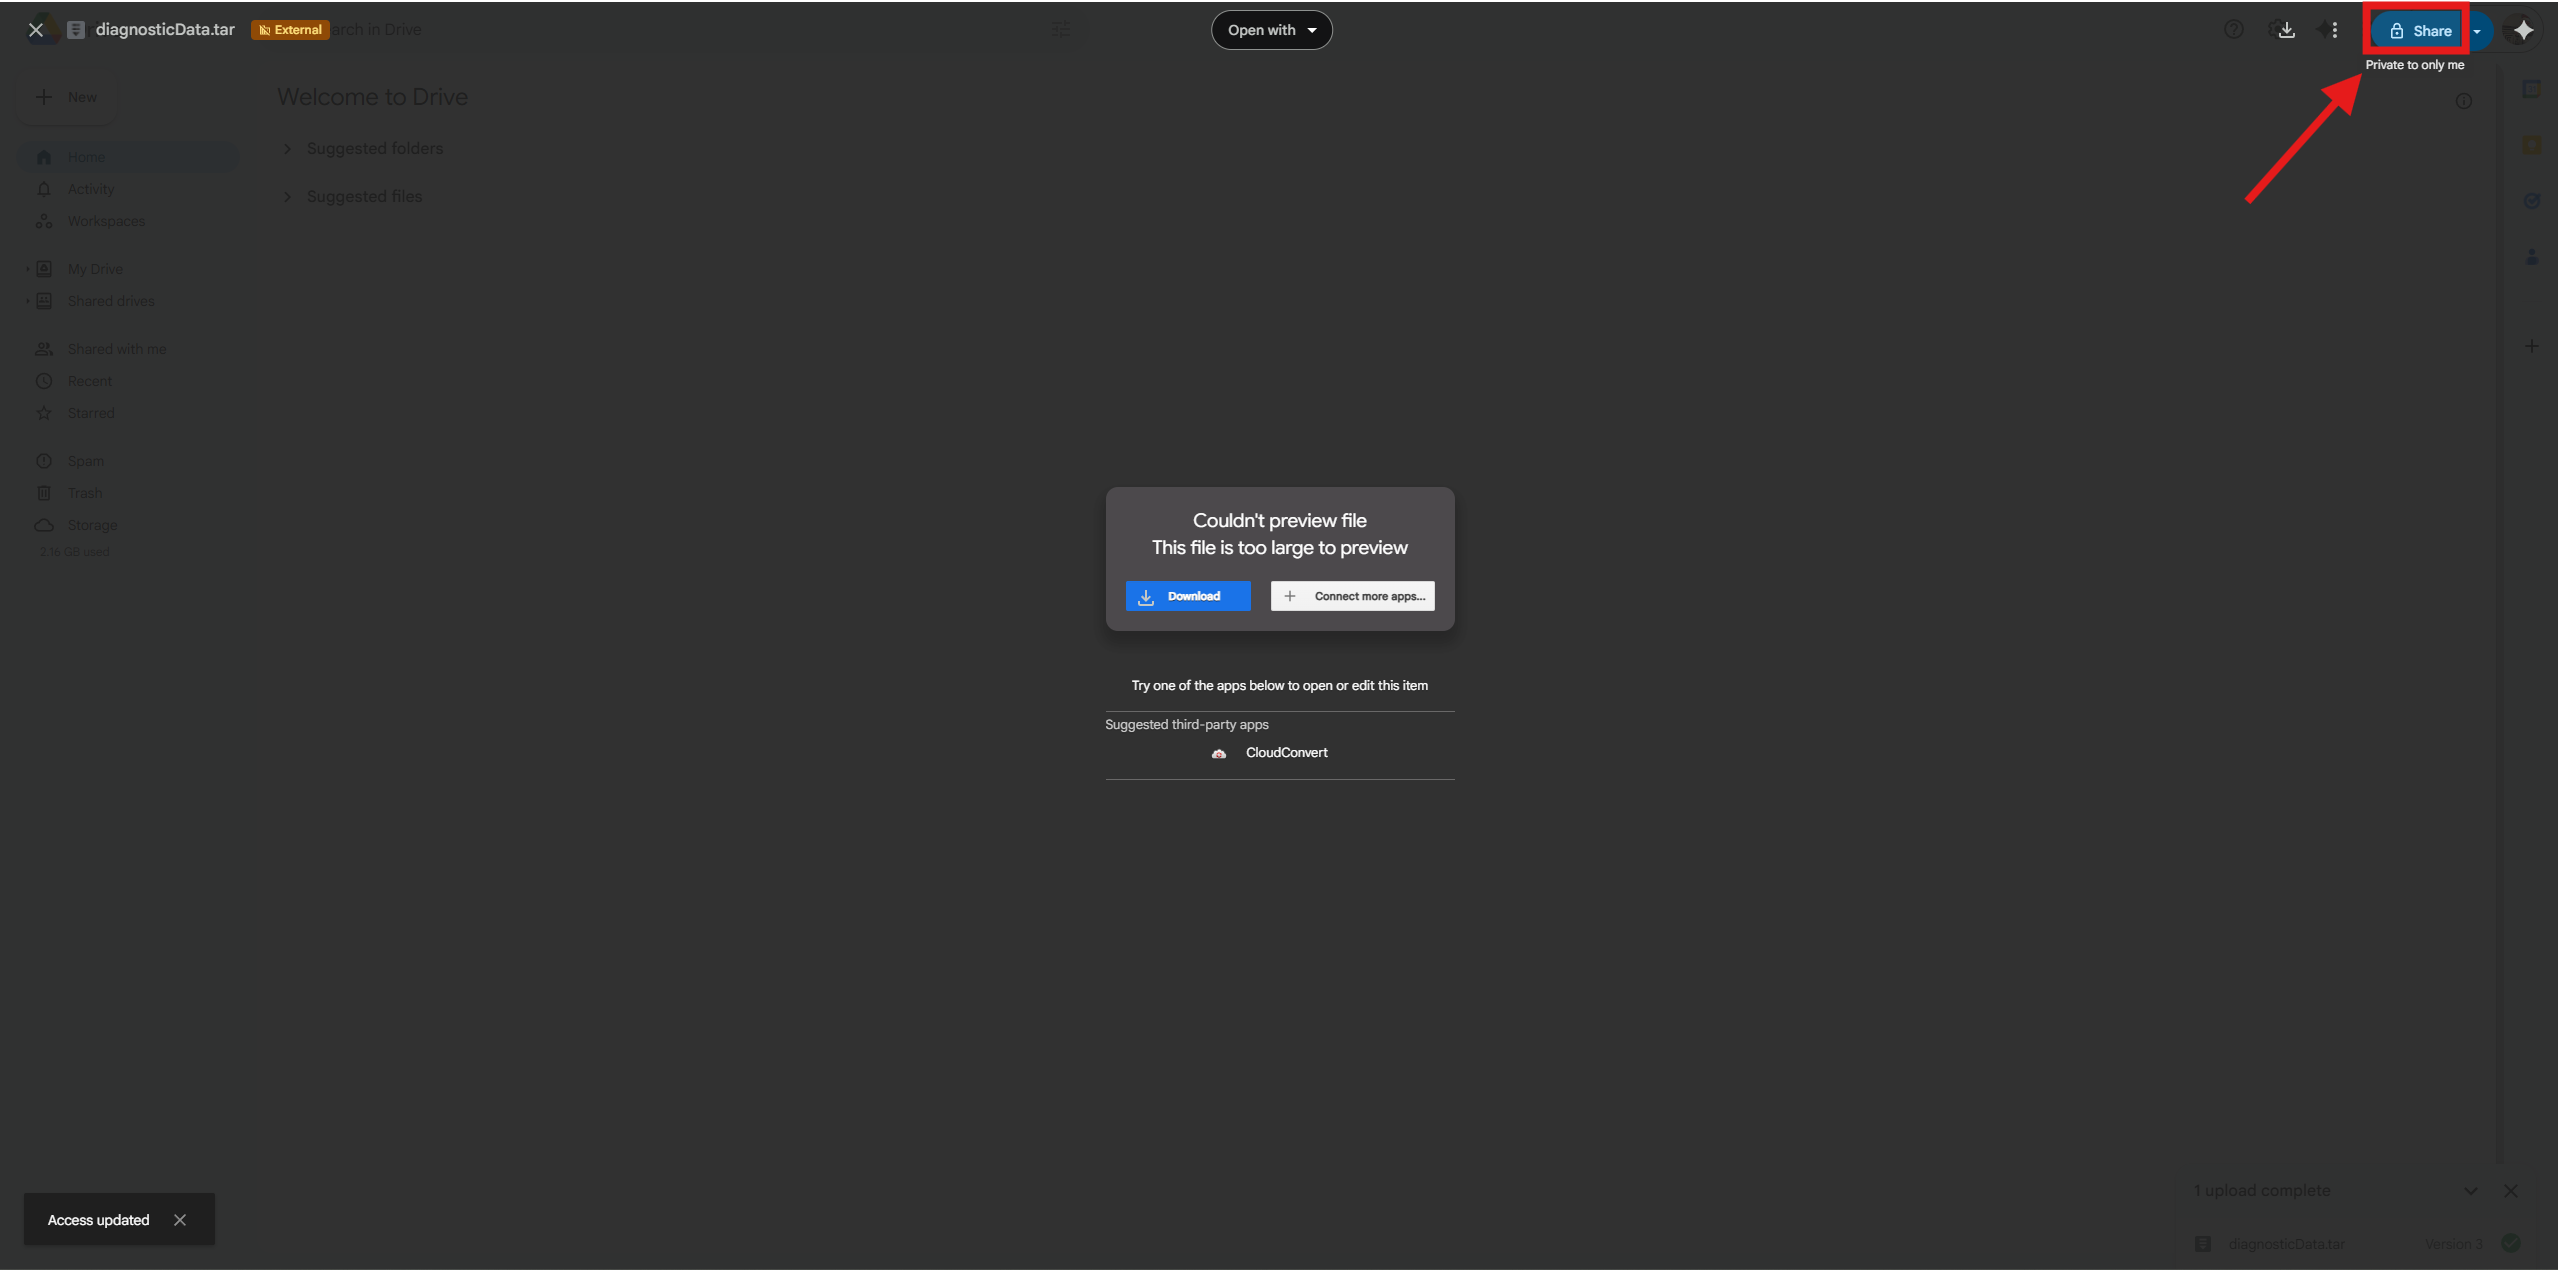
Wait for the file to upload and click on it
Select "Share" in the top right corner
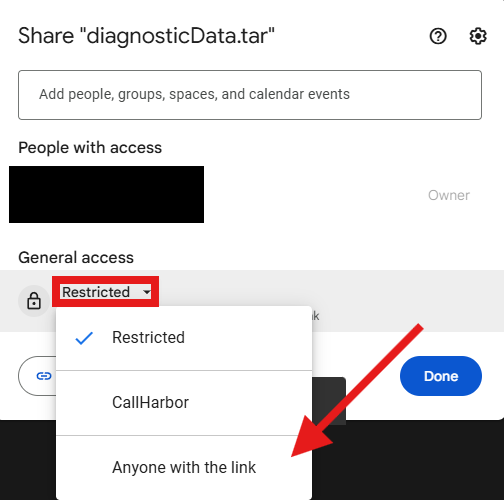
Select "Restricted" and adjust it to "Anyone with the link"
Select "Copy Link"
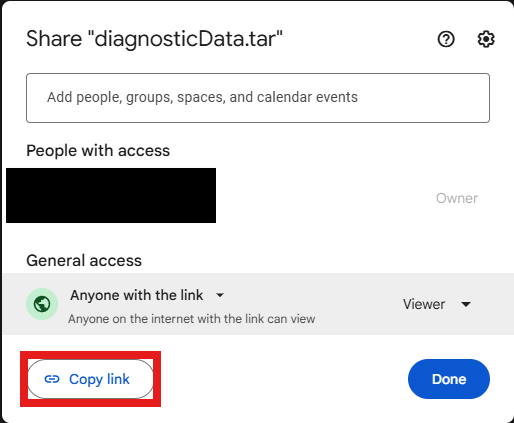
You will now be able to paste the link to the technician using "Ctrl + V"

