2140
2140
Types and Folders are used to organize your faxes. Each fax can be assigned 1 type and 1 folder.
The Types and Folders to create are entirely up to your faxing needs.
An example of how to use Types and Folders:
Types - Department(s)
Folders - Reason for Fax (Sales, Info, etc)
Create Type and Folders
Assign Type or Folder
Searching for Faxes Based on Type
Searching for Faxes Based on Folder
Creating Types and Folders
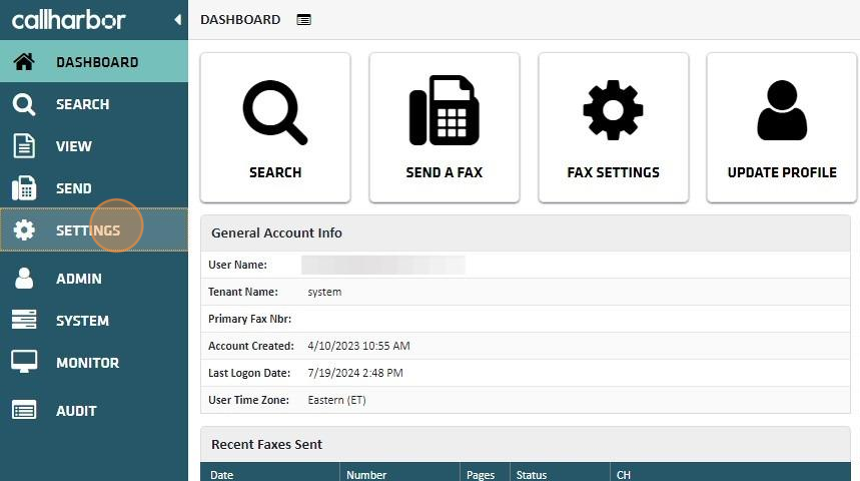
1. Log into the eFax Portal
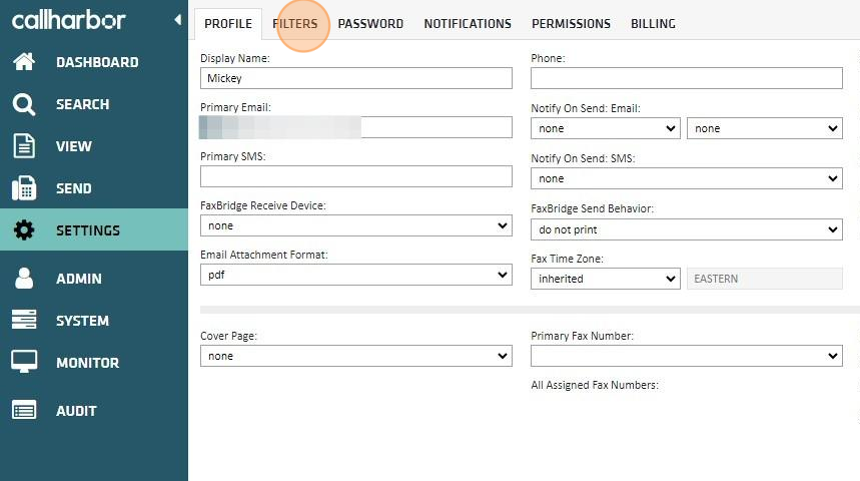
2. Click "SETTINGS"
3. Click "FILTERS"
4. There are two filters that can be created: Type or Folder.
Types will be covered in steps 5 - 7 Folders will be covered in steps 8 - 10
5. Click the 'Add a new type' text field. Enter the name that should be used for the new fax type

6. Click the Plus icon. You can now add another fax type.

7. Once all fax types are created, click "SAVE"
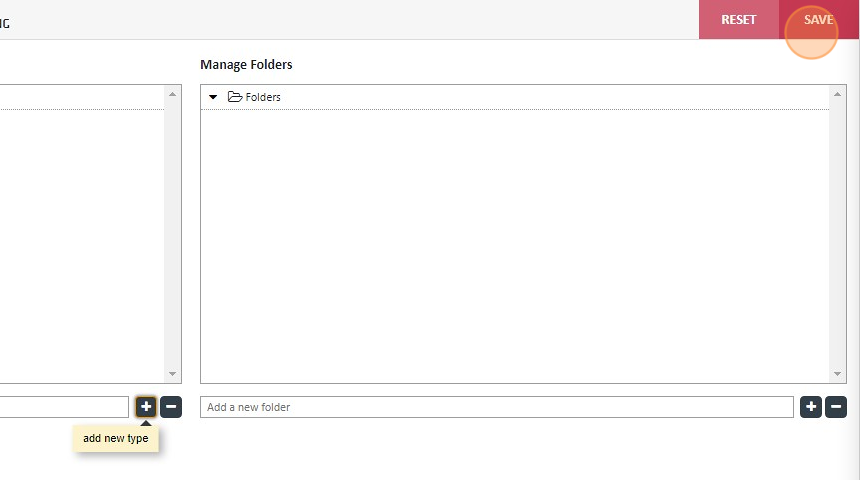
8. Click the 'Add a new folder' text field. Enter the name that should be used for the new fax folder

9. Click the Plus icon. You can now add another fax folder.

10. Once all fax types and folders are created, click "SAVE"

Assign a fax to a type or folder
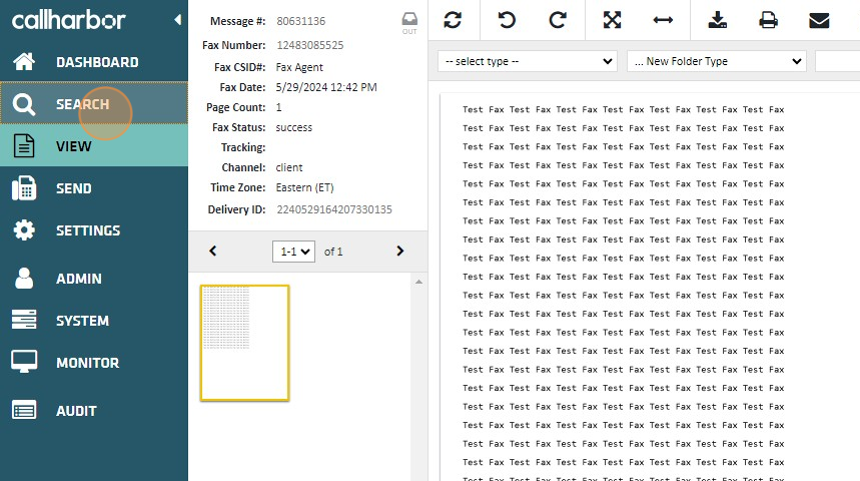
1. Click "SEARCH"

2. Double-click the fax you want to assign

3. This will open the fax in the View tab. Use the '--select type--' drop down to assign the Fax Type

4. Use the '--select folder--' drop down to assign the Fax Folder.
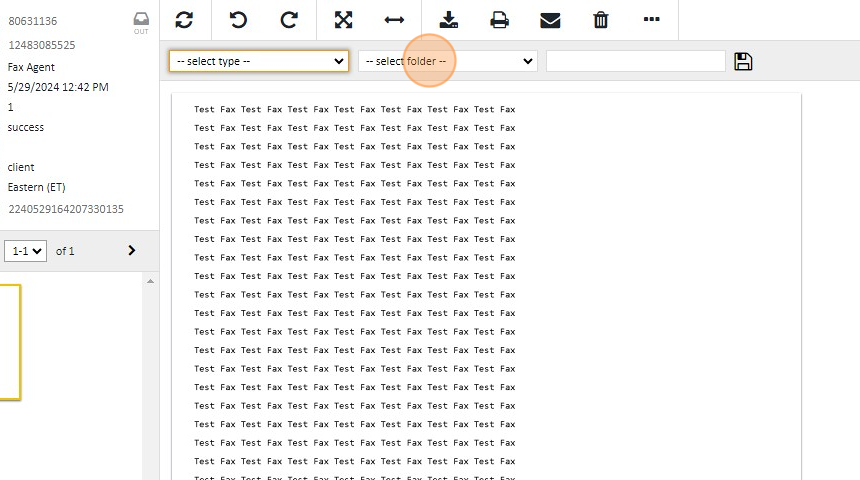
5. Once the type and/or folder is assigned, click the Save icon

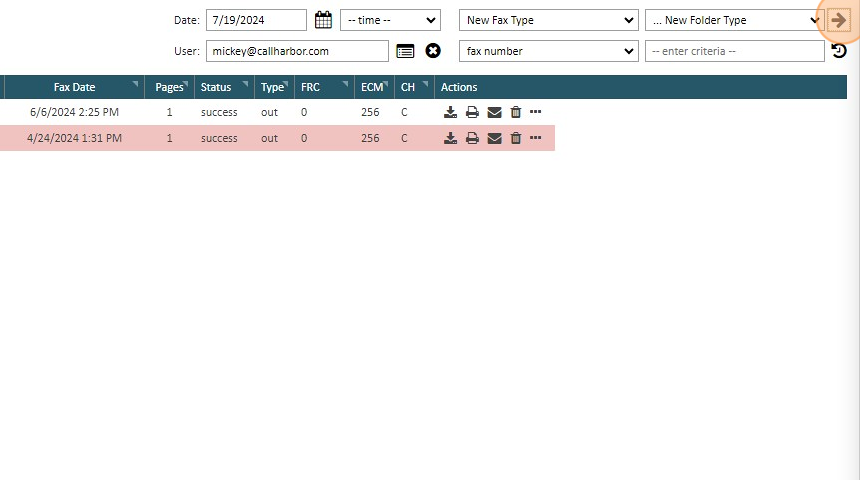
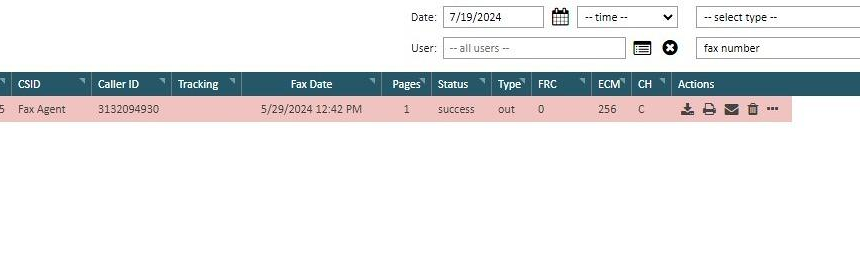
Search for Faxes - Type:
1. Click "SEARCH"
2. Click '--select type--'' dropdown and select the Type to search for
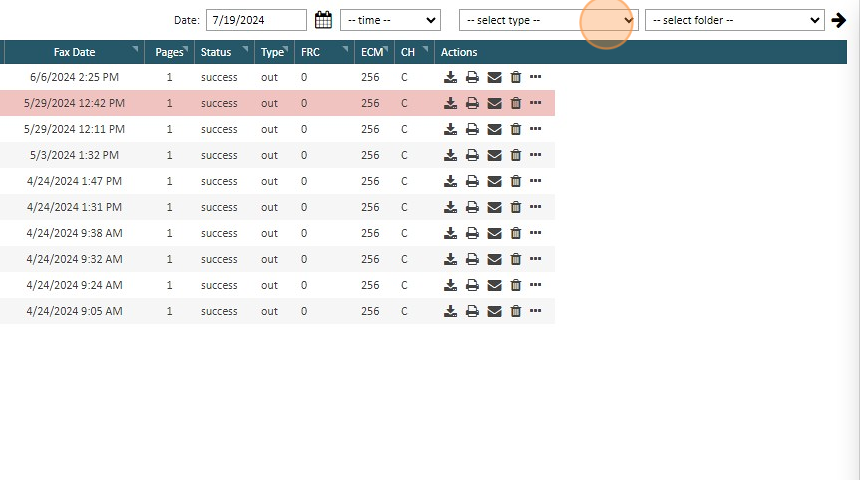
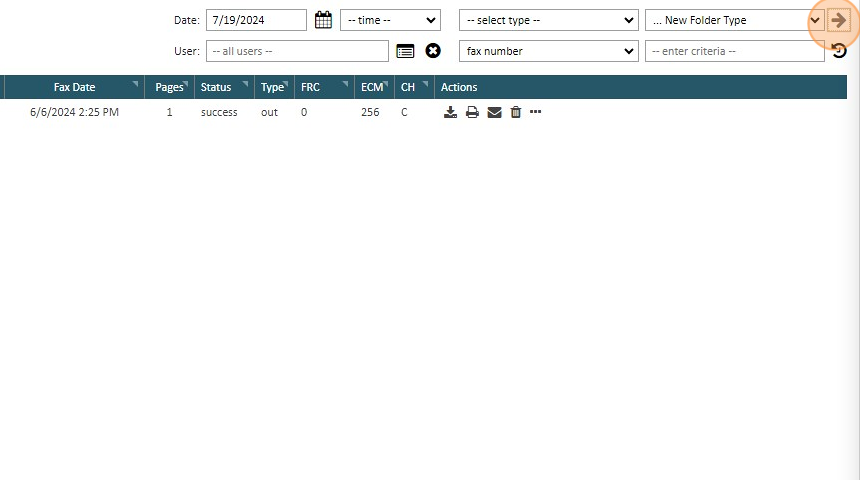
3. Once the type is selected, click the arrow icon to search

4. The search will display all faxes assigned to the type searched

Search for Faxes - Folder:
1. Click '--select folder--'' dropdown and select the folder to search for

2. Once the folder is selected, click the arrow icon to search
3. The search will display all faxes assigned to the folder searched
4. Click here.